Switches assembly and closing the box
So I finally found the time to complete this kit (or so I thought, more on that below)
I ran the part 3 of BeigoOVision’s tutorial a few times to remind me of the steps
and get it done properly.
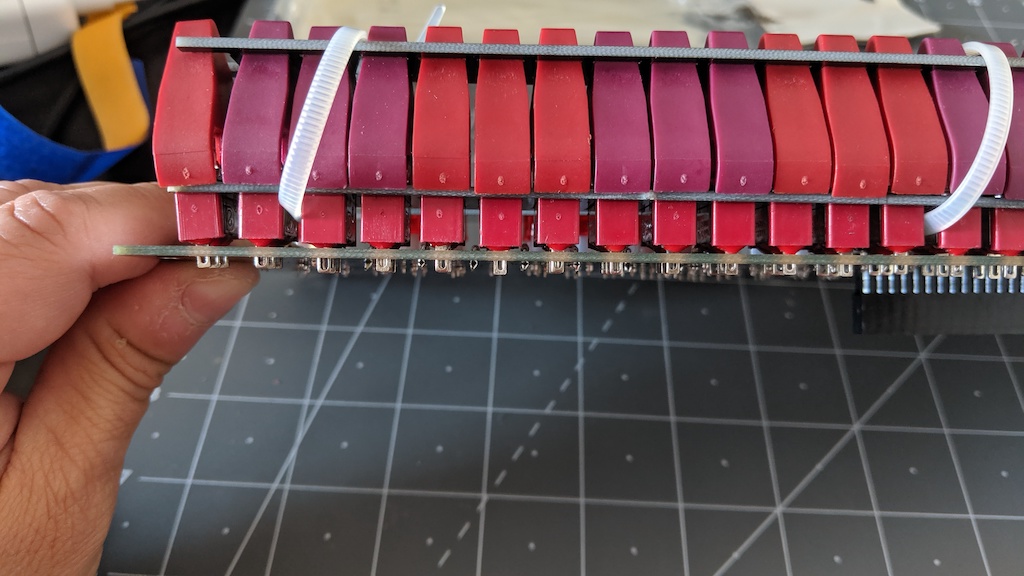
There is a lot of soldering on those switches and they say these are sensitive to over-heating;
so I want to be as prepared as I can given my lower skills.
I only had 2 zip ties rather than 6. Maybe I lot the other ones, I don’t know
but I could not ties the switches in place properly with only 2.
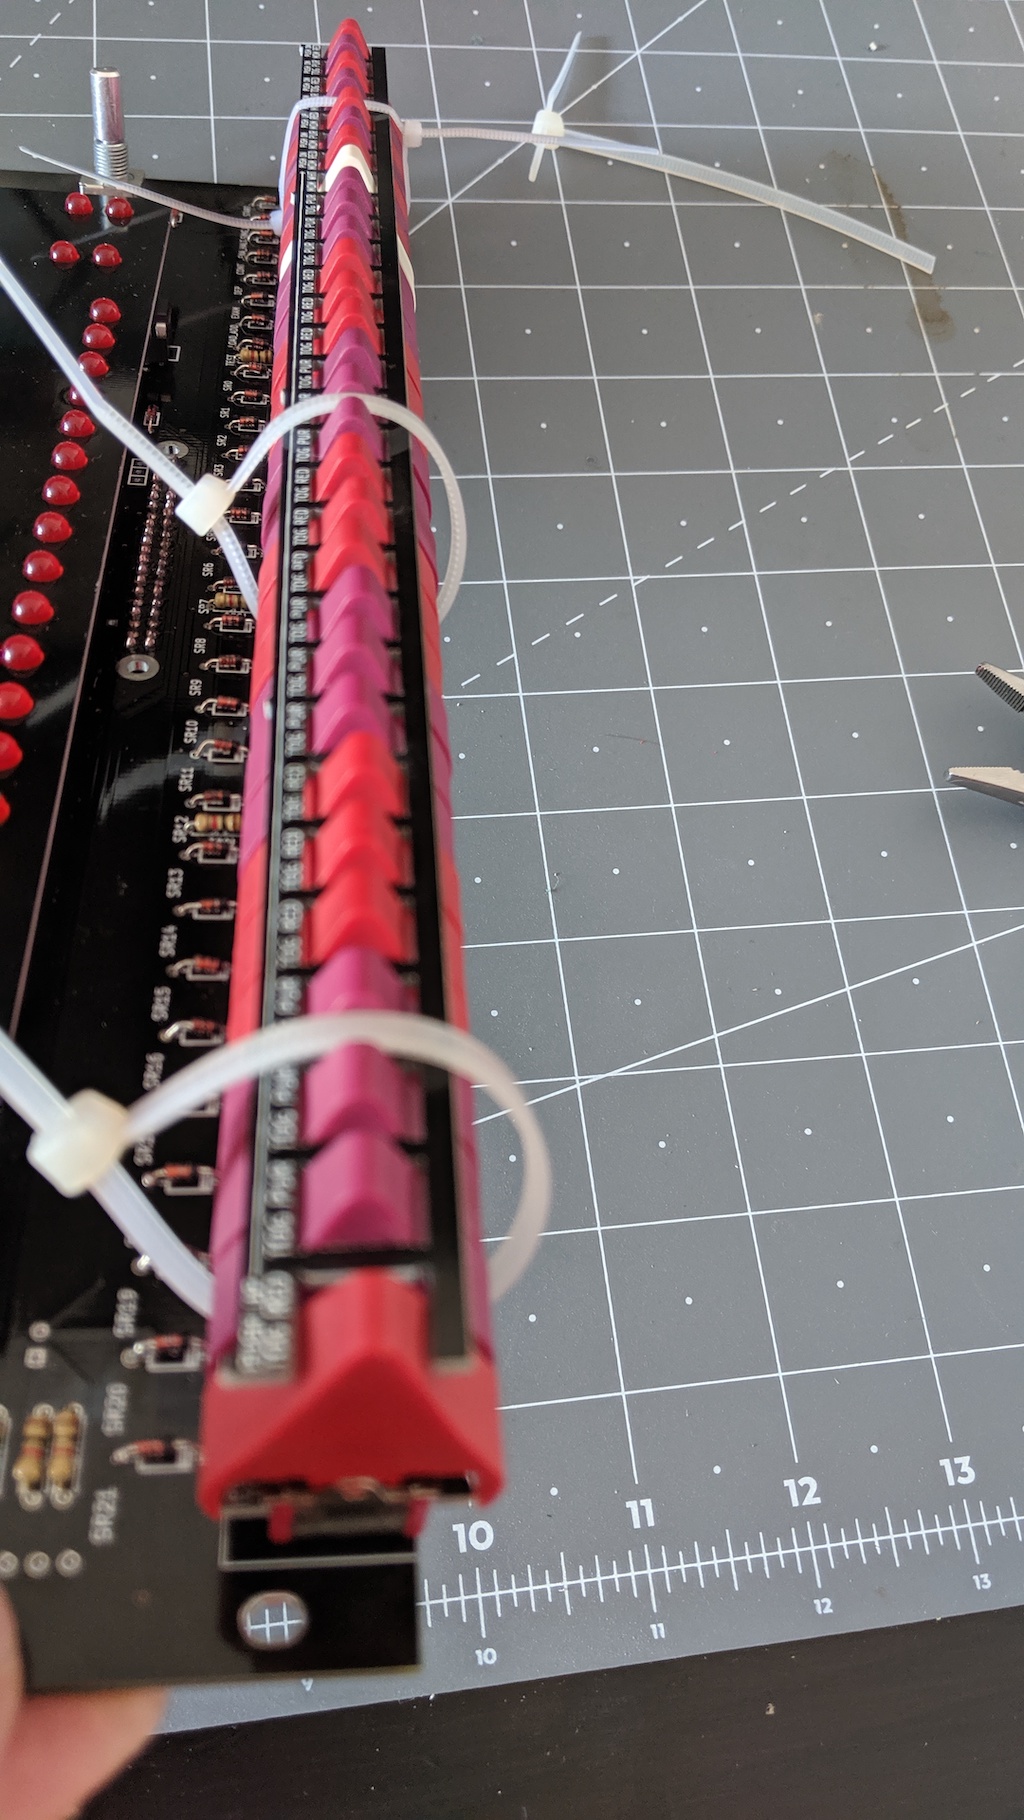
So I fished out what I had in stock. These are a big wider and could set the alignment off.
But after a bit of fiddling I found a way to secure the assembly to a reasonable state.
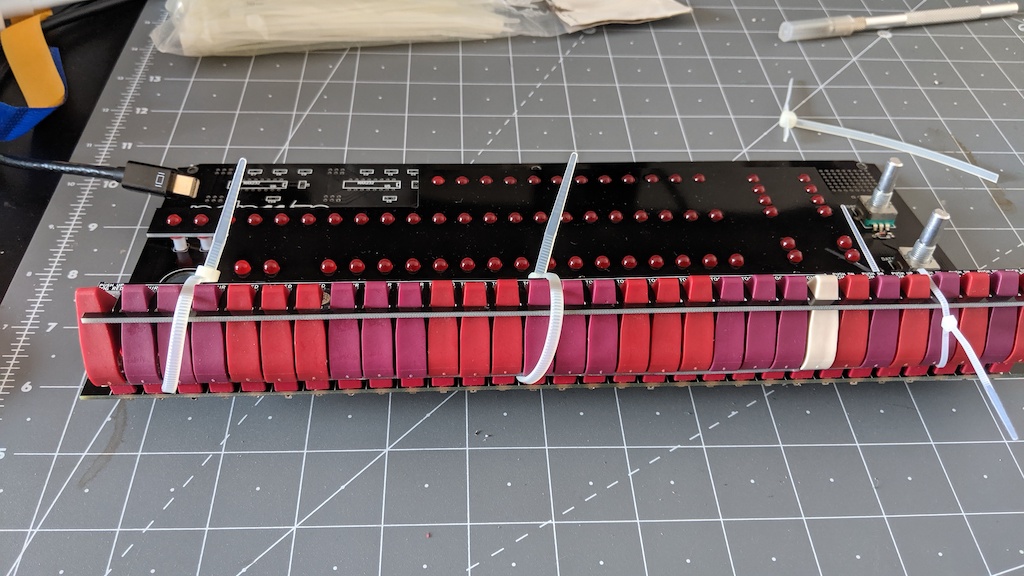
The alignment is not too bad either.
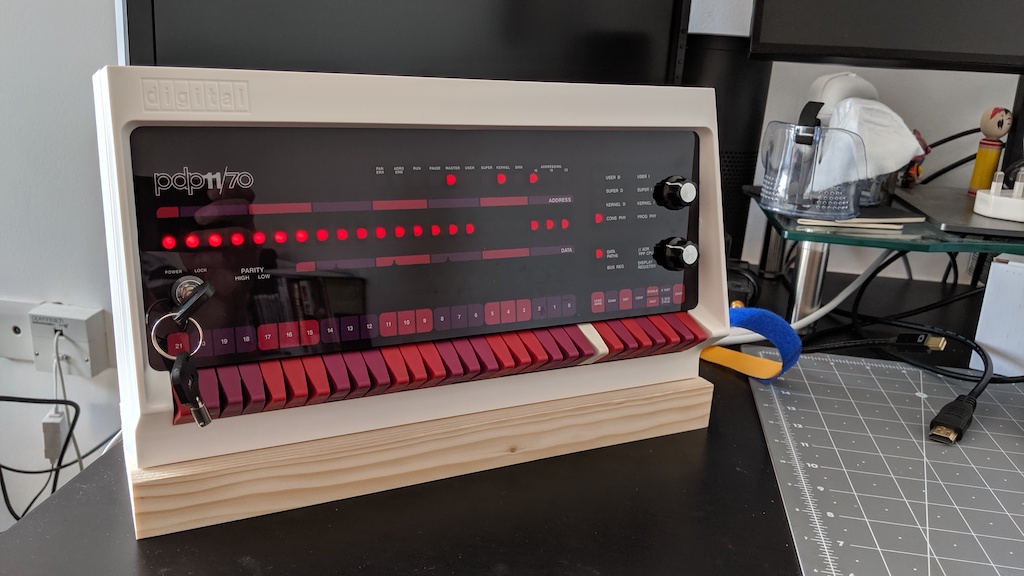
The first assembled bootup
It takes a few seconds for the Pi to boot which is scary since there’s no output whatsoever.
I wait…wait..
And finaly some LEDs come up.
Oh my…
But it is not blinkenlights. just static.
What did I do wrong?
I’m thinking the previous test without switches was successful so that must be something I just did.
Some of the switches roles are HALT/CONT, so I probably wired one in reverse…
I try to flip the HALT one DOWN but it doesn budge.
I try to flip it UP, and things start moving.
Ok I soldered it in revese.
I thought all switches but 2 a the up were in the same direction.
But apparantly not.
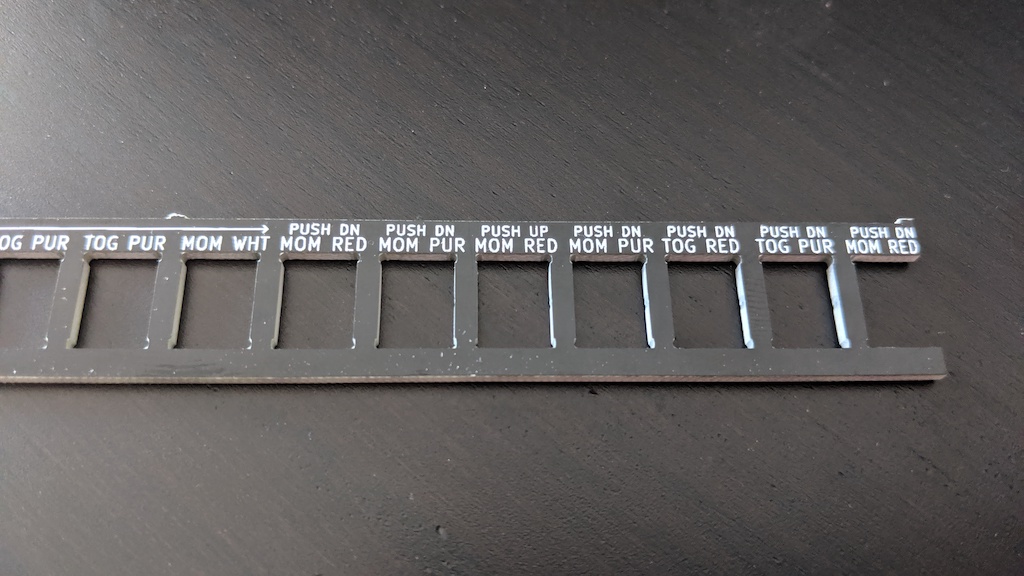
All the control switches are in reverse except the “S INT/S BUS CYCLE” because it was used for aligning
the whole thing and was explicitely said to be set DOWN.
What next?
Besides the switches in reverse, this should not alter the functioning of the PiDP/11
other than I must flip HALT UP in order for the software to RUN. :/
I’ll give it a rest for now and think about it.
I’d really like to have it setup the way a real PIP/11 would but desoldering/resoldering the switches
may not be so simple. I’ll have to ask the mailing list for advice.
I’ll probably use some varnish on the wooden stand.
Another improvement I’m considering is weathering the kit.
Maybe I watch too many of those from Adam Savage’s Tested Channel,
but it could make it look cool and more vintage.